 Skip to content
 Different Backings Of Patches And How To Use Them
It’s just another day, and you’re finding something new in your closet to style your look. But all you can see are those old outfits you’re tired of wearing. That’s when you think of a fun idea—convenient and creative patches that can help you add a new touch to your old, outdated clothes. However, these patches need strong sticking power. We are talking about something that doesn’t get enough credit: the patch backing options.
Though patches are the highlight of every outfit, these backing options keep them intact. Whether you want to revamp your denim jacket, add glamour to your bag, or use a hat as your marketing tool, choosing the right patch backing options makes all the difference. These are the behind-the-scenes heroes that are not often acknowledged but are crucial for making your outfit more stylish.
Don’t worry, it’s no science. Let’s delve into some of the different backing options you can use. So, let’s go:
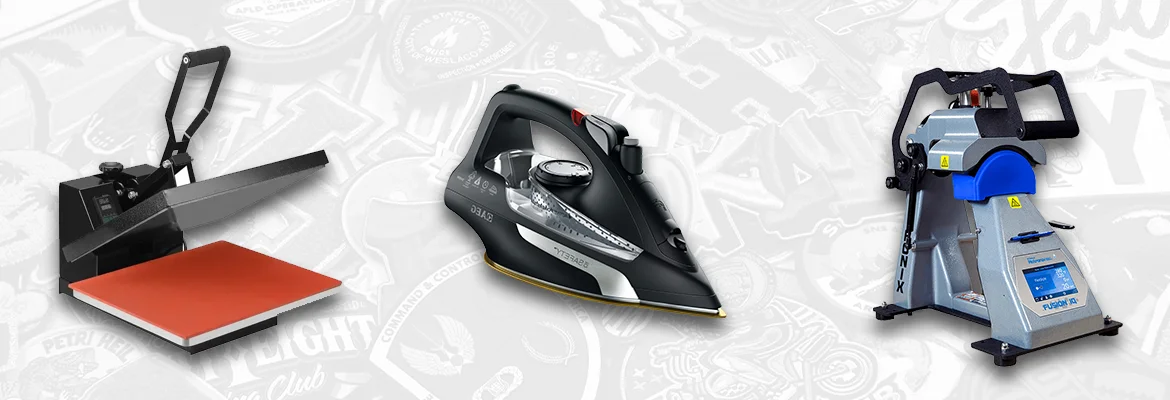
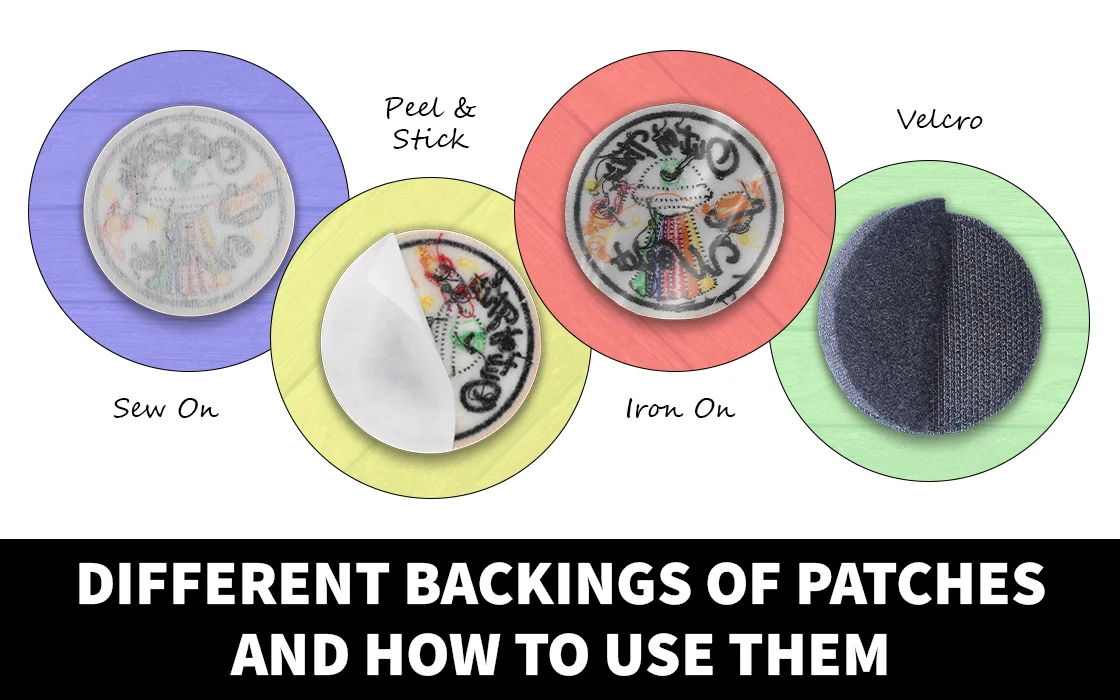
Iron-on Backing
If there is one patch-back option that can never go wrong and is always in fashion, it’s none other than iron-on backing. It’s the right choice for DIY because of its easy application. In short, you don’t have to mess with needles and thread. It works best for clothes and bags, but avoid using it on delicate fabrics like silk.
How it Works on Embroidered Patches
- To attach a patch, preheat the fabric (like a shirt) to 320°F (160°C) for about 10 seconds to remove moisture and wrinkles.
- Then, position your patch and secure it with heat-resistant tape. Cover the patch with protective fabric, and heat press it from the front at 320°F (160°C) for 20-30 seconds with medium pressure.
- Finally, let the patch cool to room temperature before removing the tape to set the adhesive properly.
How it Works on Embroidered Patches – IQ 360 Press for Hats
- Preheat the cap to 320°F (160°C) for 10 seconds to apply a patch.
- Next, secure the patch on the cap using heat-resistant tape.
- Then, cover it with a protective fabric and heat press the patch from the front at the same temperature for 20-30 seconds, using a pressure setting of 2-4Pr.
- Finally, allow the patch to cool to room temperature before removing the tape to ensure a strong bond.
Sew-on Backing
If you are good with stitching or someone who doubts the iron-on patches, Sew-on backing is for you. It will keep your patches in place through thick and thin and give off the handcrafted vibe to your fit. It’s perfect for denim and leather fabrics that really need some sturdy stitching.
How it Works
You only need a needle and thread to attach the patch where you want it. You can do it even more effectively if you have a sewing machine. Although it requires a lot of work, it promises durability.
Velcro Backing
Are you looking for a quick and enjoyable solution? Do you frequently change patches? Velcro backing is the ideal choice. It allows you to attach and detach your patch multiple times easily. In other words, it’s a versatile option that allows you to refresh your outfits in various ways each time.
How it Works
One part of Velcro is on your patch, and the other sticks to your clothes. Your patch has Velcro that sticks to a matching piece on your item. You can stick it on, take it off, and put it back on again as many times as you like – it’s simple!
Adhesive Backing
When time is short, you must look for a fast and easy option. That’s when adhesive backing saves the day. Just think of a cloth sticker you paste on your outfit—it’s an adhesive-backed patch. This patch backing option is ideal for adding a temporary flair to your look. It’s super easy, convenient, and always a good choice.
How it Works
First, peel off the cover to expose the sticky side to use the patch. Then, press the patch onto your fabric firmly. Make sure it’s smooth and well-adhered. After you’ve done this, your patch will be securely in place and ready to use!
You Can Pin It Too!
To make things even more manageable, you have enamel pin backing options to upgrade your style in seconds. So, here are a few pin options:
- Single Clutch: A metal clasp holds the pin post correctly, slides on, and locks in place.
- Double Clutch: Two clasps for more support and are perfect for more oversized pins.
- Single Rubber: This soft, bendable backing fits tightly on the pin post and is easy to put on and remove.
- Double Rubber: Two rubber grips ensure a secure hold on heavier pins with little effort.
- Hat Clip: A unique clip attaches to hats without damaging the fabric.
- Magnet: It has a strong magnet that holds pins tightly and is excellent for delicate fabric.
- Safety Pin: This pin has a clasp that fastens through thick fabrics. It works like a regular safety pin, opening and closing quickly.
Final Thoughts
Patches and pins are little pieces of art that can add to your styling any day. So, with so many different backing options, you have multiple options in hand. For the next time, you can simply choose what best suits your style and ace the look.
